

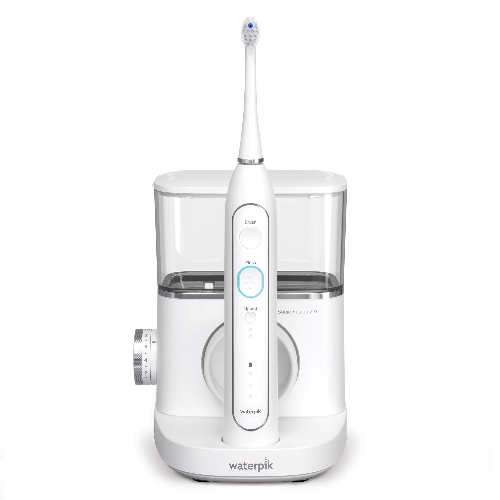
Maintaining your oral health is essential for a healthy lifestyle. A Waterpik Flosser is a great tool to help you keep your teeth and gums healthy. With the right technique and regular maintenance, you can use your Waterpik Flosser to keep your mouth clean and healthy. In this blog, we will discuss how to use and maintain your Waterpik Flosser correctly.
Using your Waterpik Flosser correctly is essential for optimal oral health. First, you should fill the reservoir with warm water and add a few drops of mouthwash for extra freshness. Then, select the appropriate tip for your needs and attach it to the handle. Finally, turn on the device and gently move the tip in and out of the spaces between your teeth. Make sure to floss all areas of your mouth, including the back of your teeth and your gum line.
Step 1: Fill the Water Reservoir with Warm Water
To begin, fill the water reservoir of your Waterpik Flosser with warm water. Using a warm Waterpik water flosser ensures a comfortable experience while effectively removing plaque, bacteria, and food debris from your teeth and gums.
Step 2: Select the Right Tip for Your Needs
Waterpik Flossers come with various interchangeable tips to address different oral care requirements. Whether you have braces, or dental implants, or simply want a general cleaning, selecting the appropriate tip is crucial. Some common tip options for dental floss, include the classic jet tip, orthodontic tip, and plaque seeker tip.
Step 3: Adjust the Water Pressure
The water pressure setting on your Waterpik Flosser is adjustable to accommodate individual preferences. Start with the lowest pressure setting and gradually increase it until you find a comfortable yet effective level. It is important not to exceed the recommended pressure for your oral health.
Step 4: Position the Tip and Turn on the Unit
Place the selected tip in your mouth and lean over the sink to prevent splashing. Ensure that the Waterpik Flosser's tip is aimed along the gum line and teeth. Once in position, turn on the unit to start the water flow.
Step 5: Move the Tip Along Your Teeth and Gums
Gently move the tip along your teeth and gums, pausing briefly between each tooth. The pulsating water effectively removes plaque, bacteria, and food particles from hard-to-reach areas, promoting healthier gums and preventing tooth decay.
Step 6: Clean and Store Your Waterpik Flosser
After each use, remove the tip and rinse it thoroughly under running water. Empty the water reservoir and wipe the unit with a soft cloth to remove any mineral deposits. For a deeper clean, you can soak the handle of your Waterpik Flosser in a mixture of white vinegar and water for a few minutes, then rinse it thoroughly. Always refer to your product manual for specific cleaning instructions.
Step 7: Incorporate into Your Daily Oral Health Routine
Using a Waterpik Flosser should complement your daily oral care routine, not replace it. Brush your teeth twice a day, floss regularly (you can use string floss in addition to the Waterpik), and visit your dentist for routine check-ups. By incorporating the Waterpik Flosser into your daily dental braces routine, you can enhance your oral health care efforts.
Remember to consult your dentist or refer to the product manual for any specific instructions or recommendations based on your dental needs. With proper use and maintenance, your Waterpik Flosser can be a valuable tool in achieving a healthier and brighter smile.
 Raihan Uddin
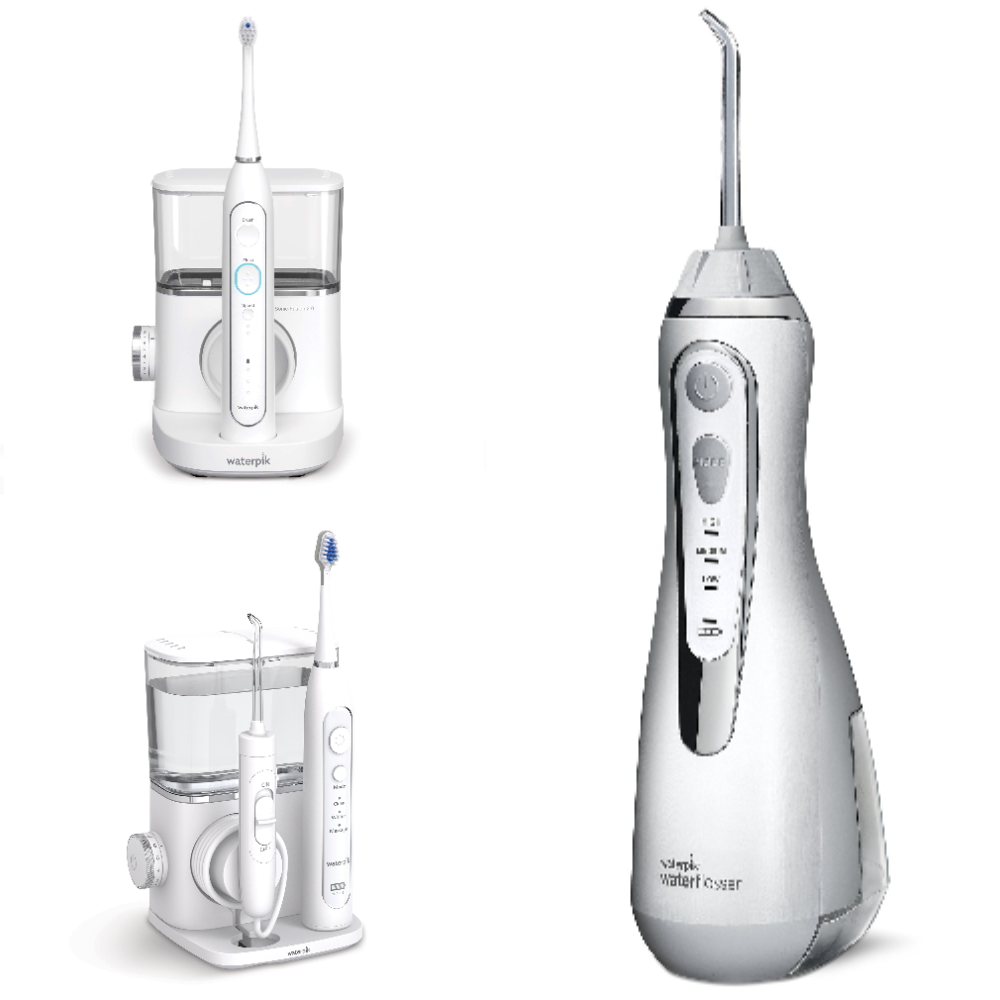

Q1: What is a Waterpik Flosser?
A1: A Waterpik Flosser is an oral hygiene device that uses a combination of water pressure and pulsations to remove plaque and food particles from between teeth and below the gum line. It is an effective and easy-to-use alternative to traditional dental flossing.
Q2: How do I use my Waterpik Flosser correctly?
A2: To use your Waterpik Flosser correctly, start by filling the reservoir with warm water. Then, select the appropriate tip for your needs and attach it to the handle. Place the flosser tip between your teeth and turn on the device. Move the tip in a back-and-forth motion to clean the area between your teeth. When finished, turn off the device and rinse the tip with warm water.
Q3: How often should I use my Waterpik Flosser?
A3: It is recommended that you use your Waterpik Flosser at least once a day, or as directed by your dental professional. Keep in mind that proper oral hygiene requires more than just flossing; brushing regularly and using mouthwash are important elements of a complete oral care routine. Additionally, if you have any dental concerns, it is important to talk to your dentist about the best practices for you.
Q4: How do I maintain my Waterpik Flosser?
A4: To keep your Waterpik Flosser working properly, it is important to clean and maintain it regularly. Before each use, remove the tip from the handle and rinse it with warm water. After use, store the tips in a safe and dry place. It is also recommended that you replace the tips every three to six months depending on usage.
Additionally, it is important to clean the handle after each use by wiping it down with a damp cloth. This will help keep the handle free of debris and bacteria that can build up over time. Finally, remember to unplug the device when not in use. Following these steps will help ensure your Waterpik Flosser works effectively for years to come.
Q5: How do I clean and sanitize my Waterpik Flosser?
A5: To clean and sanitize your Waterpik Flosser, first remove the tip and rinse it with warm water. Then, fill the reservoir with a mixture of warm water and mild dish soap and run the device for 30 seconds. Finally, rinse the device with warm water and allow it to air dry.
Q6: How do I replace parts of my Waterpik Flosser?
A6: To replace parts of your Waterpik Flosser, you will need to purchase replacement parts from the manufacturer. Make sure to follow the instructions provided with the replacement parts for proper installation.
Q7: What are some tips for getting the most out of my Waterpik Flosser?
A7: To get the most out of your Waterpik Flosser, make sure to use it on a regular basis and replace the tips when necessary. It is also important to ensure that you are using the correct pressure setting for your needs and to rinse the device thoroughly after each use.
Additionally, be sure to clean and sanitize the device regularly with warm soapy water and allow it to air dry. It is also recommended to store the device in a cool, dry place away from direct sunlight. Finally, with water flossers, always be sure to read and follow the manufacturer’s instructions for use and maintenance. Following these tips will help ensure that you get the most out of your Waterpik Flosser.

In conclusion, using and maintaining your Waterpik Flosser correctly is essential for optimal oral health. By following the steps outlined in this article, you can ensure that your Waterpik Flosser is working properly and that you are getting the most out of it. Remember to clean and sanitize your Waterpik Flosser regularly, replace parts with water flossers as needed, and troubleshoot any common issues that may arise. With proper use and maintenance, your Waterpik Flosser can help you achieve and maintain a healthy smile for years to come.
Raihan Uddin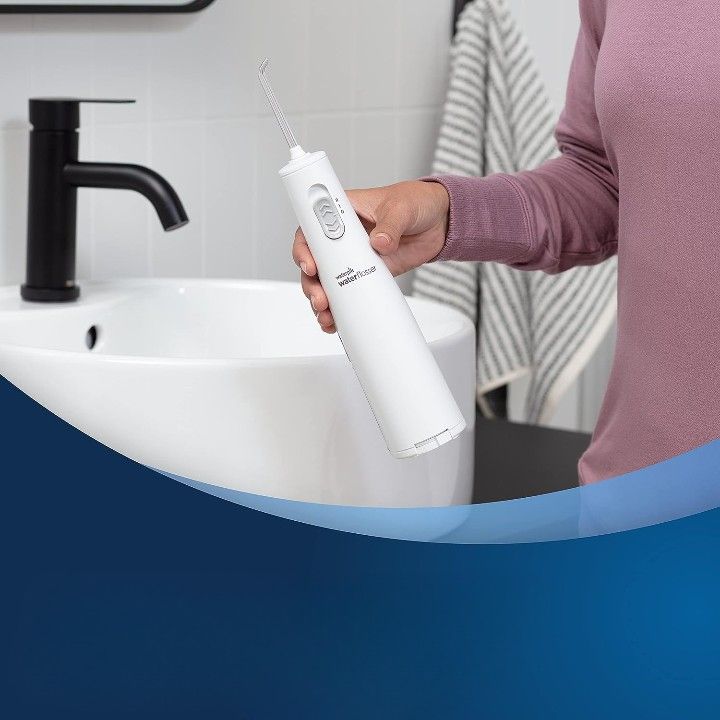 Raihan Uddin
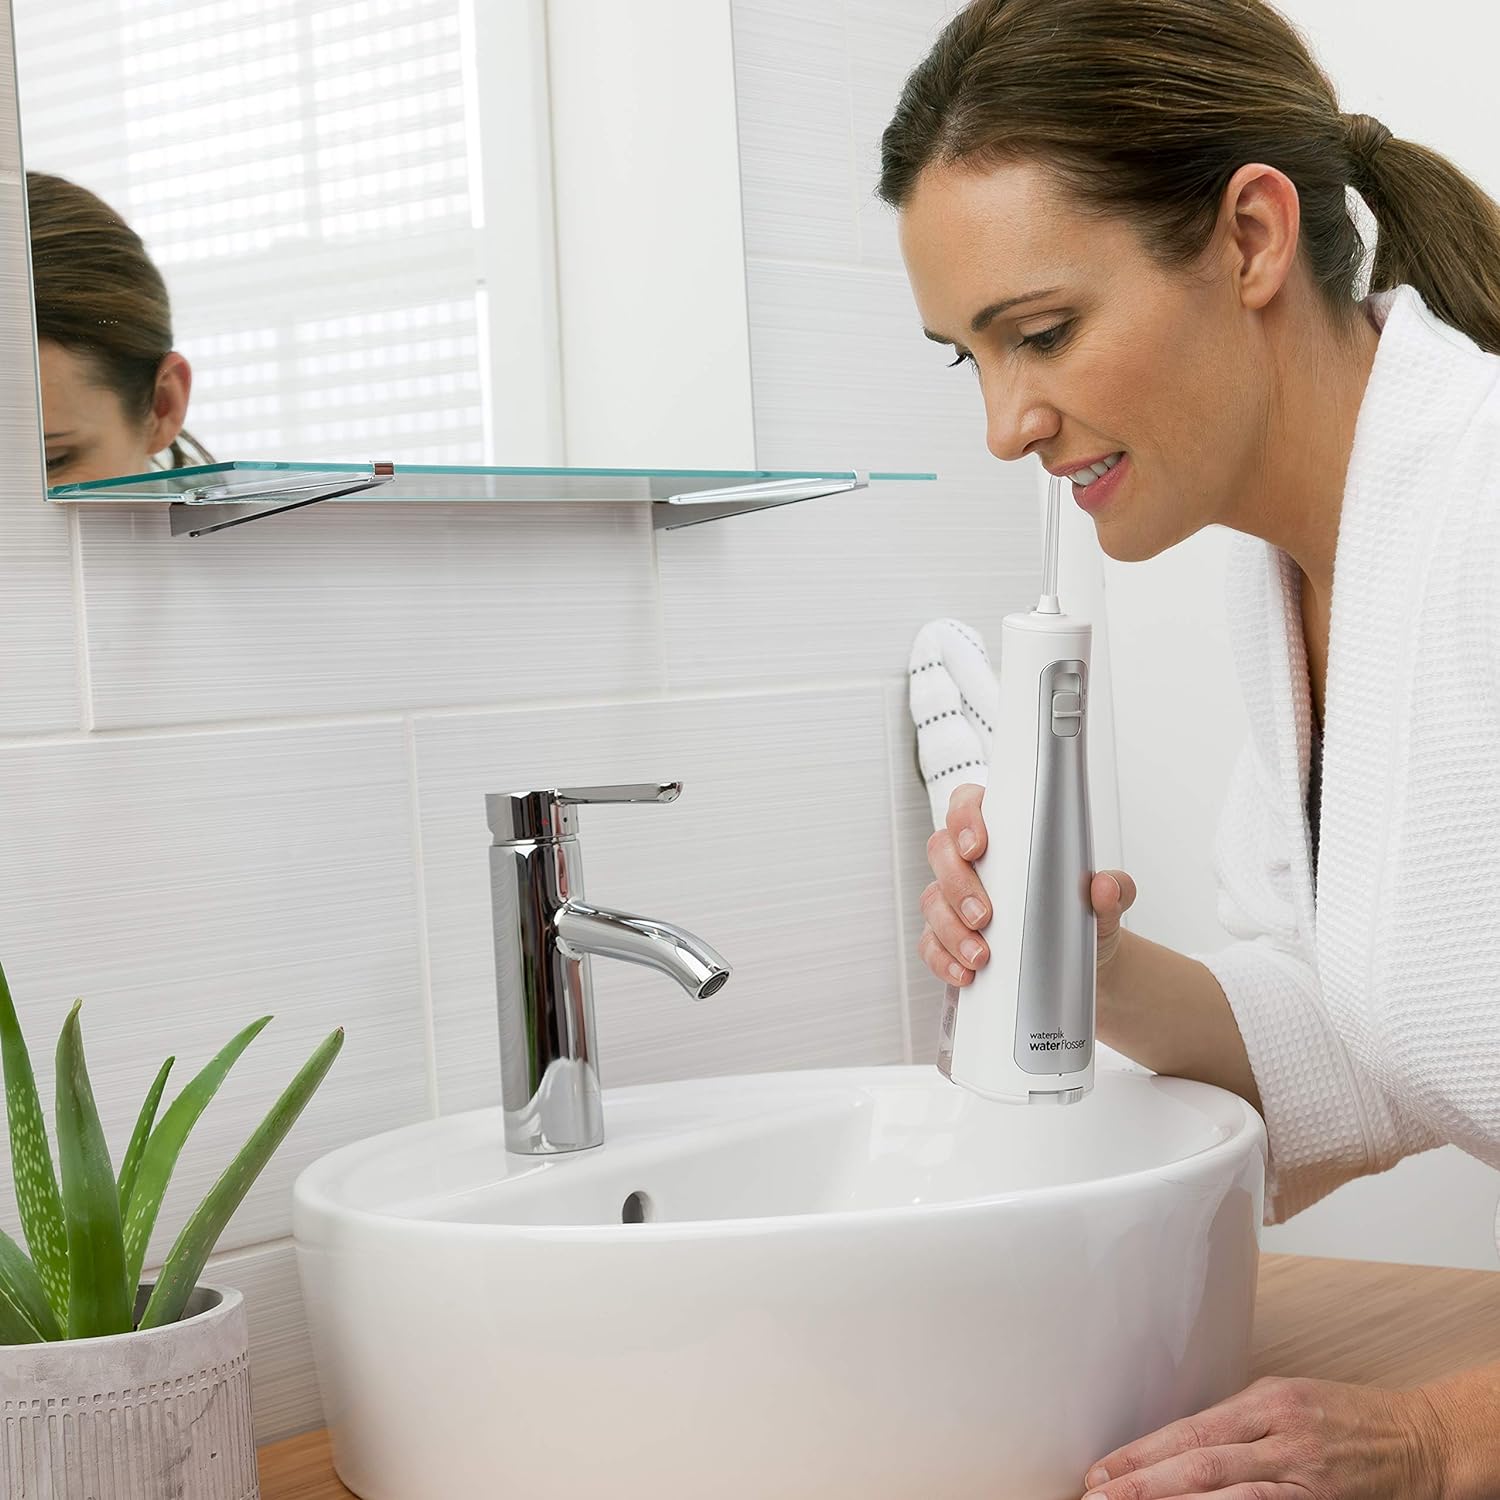 Raihan Uddin